Introduction
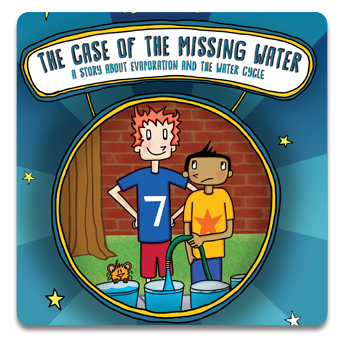
Have you ever wondered what happened to the water puddle that was in the road just yesterday? Where did it go? This process is called evaporation. Evaporation is part of the water cycle, along with condensation, precipitation, and collection.
Here’s an easy way to learn about the water cycle!
Objectives
To construct a model of the water cycle
Materials
• Resealable plastic bag (gallon size)
• Paper or plastic cup (5 ounce)
• Permanent marker
• Blue food coloring
• Masking or duct tape
• Pitcher or container of water
• Long spoon (or something for stirring)
Procedure
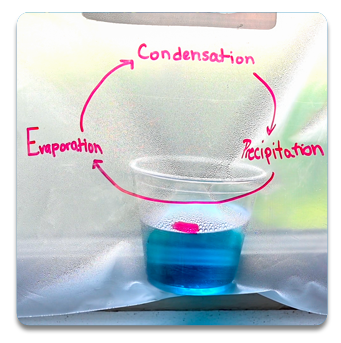
With the permanent marker write the words condensation, evaporation, and precipitation on the plastic bag. Draw arrows to indicate the path of the water cycle. Fill the pitcher with water. Put three or four drops of food coloring in the water and stir. Next fill the cup until it is approximately half full. Draw a line on the cup to mark the water level. Carefully place the cup in the bottom of the bag. The water should not spill out of the cup. Seal the bag, leaving some air in it. Use the tape to hang the bag in a sunny window or next to a heat source, or set the bag by a window. Check the water level in the cup daily.
Conclusion
The water cycle will be demonstrated. The water level in the cup will decrease. The cup of water represents lakes, oceans, and rivers. The bag represents the atmosphere. After a period of time, small amounts of water will evaporate and condense on the bag. This represents how clouds are formed, representing precipitation.

